
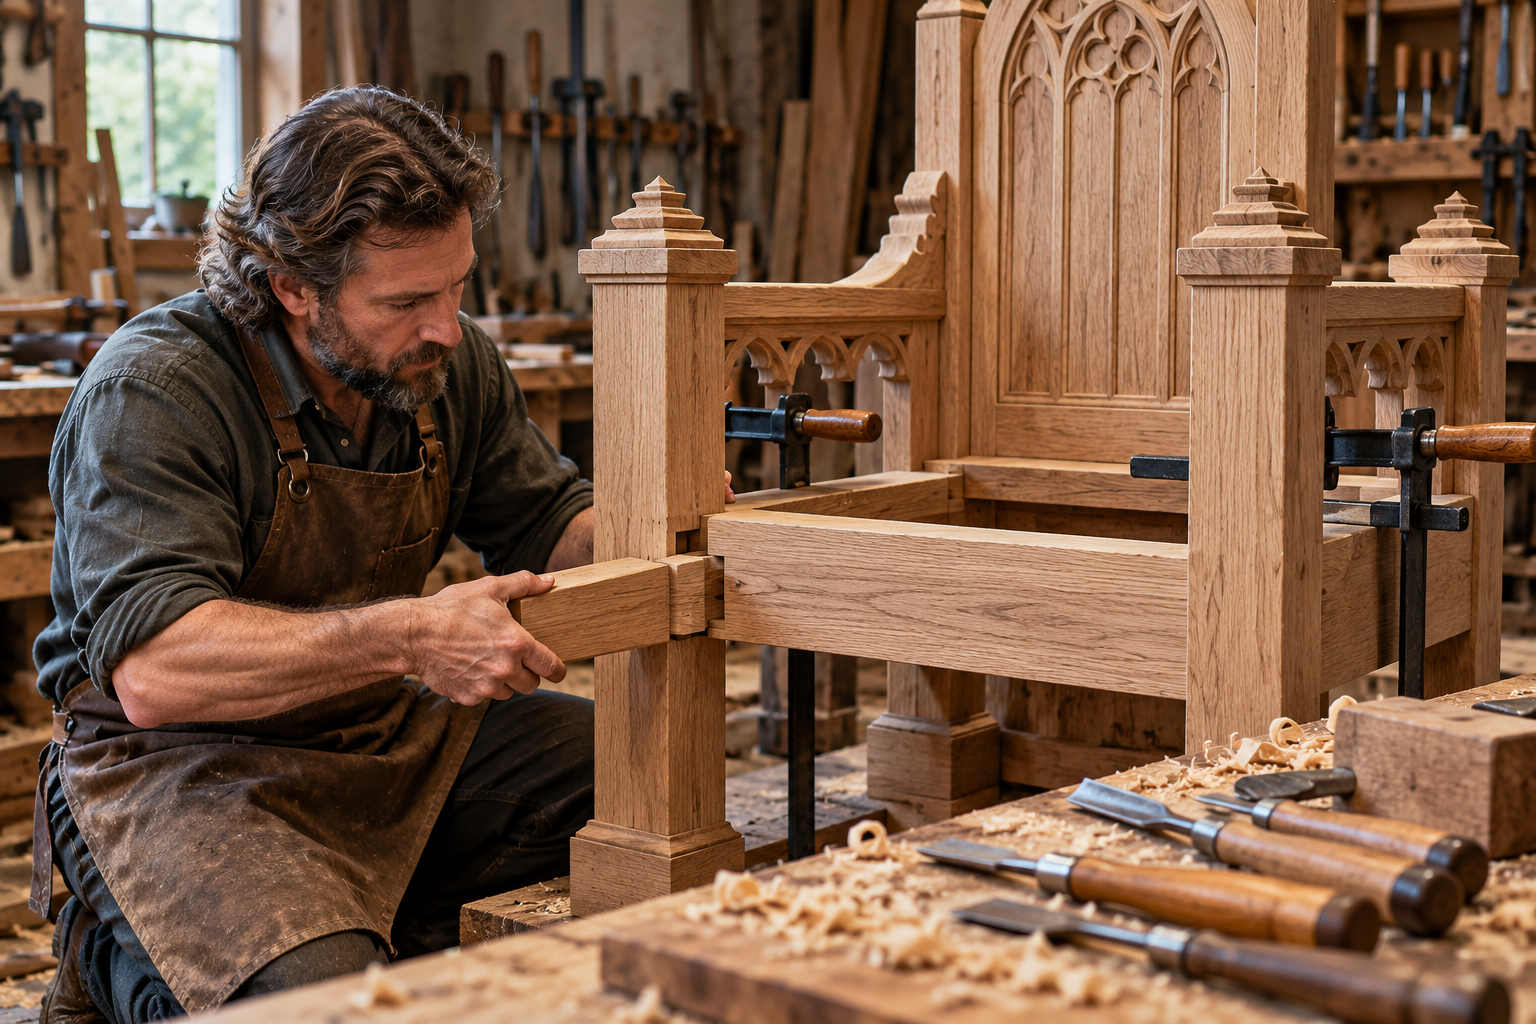
The visible carving may define a wooden throne's character, but the frame beneath it determines how its parts work together. Woodworking & Joinery follows that relationship from selected stock to a documented assembly. Examine grain direction, leg and rail connections, curved components, panel movement, and the sequence in which the frame can actually be put together. A joint that looks convincing in isolation may become inaccessible once neighboring parts are fixed. Dry assemblies, full-size drawings, practice joints, and reference faces help expose those problems before decorative work makes corrections expensive. This section distinguishes structural members from applied ornament and treats adhesive choice as part of a specific joint design rather than a cure for poor fit. Consider how carving changes remaining material, where clamps need access, and how future repairs can reach concealed connections. The purpose is a more informed workshop conversation, not a universal recipe for occupied furniture. Whether studying traditional construction or planning an original seat, begin with the framework and its intended role, then let the ornament grow from a coherent assembly.
Throne Foundations
- Separate the structural chair frame from decorative carving before planning cuts, joints, and the assembly sequence.
- Draw the leg, rail, arm, and back connections at full size to expose conflicts hidden in a small concept sketch.
- Orient grain deliberately in curved components, checking whether the shape leaves vulnerable short-grain sections.
- Select joinery for the forces and geometry of the complete frame rather than choosing it solely for appearance.
- Plan for solid wood's movement when connecting broad panels to surrounding frames or differently oriented parts.
- Prepare matching test joints from the actual stock before cutting the throne's finished components.
- Label reference faces and mating parts so mirrored legs and angled rails stay organized through machining.
- Dry-assemble the frame to check fit, alignment, clamping access, and assembly order before applying adhesive.
- Reserve sufficient material around structural joints before adding deep carving, pierced ornament, or decorative recesses.
- Keep a build record showing timber selection, joint details, adhesive specifications, and later changes to the frame.
Royal Facts
- A mortise is a receiving recess; its matching tenon projects from the adjoining component.
- Joint shoulders can help locate adjoining parts and establish a clean meeting line when properly fitted.
- Solid timber changes dimensions with moisture conditions; cross-grain connections deserve particular attention.
- A decorative applied panel and a structural rail have different jobs even when both appear substantial.
- A chair experiences movement and changing forces during use, making its frame a different problem from a static display plinth.
- A tightly fitted dry joint still needs an appropriate assembly method; friction alone does not establish the finished frame's capacity.
- Adhesive manufacturers specify application conditions and curing requirements for individual products rather than one universal schedule.
- Titebond's wood-glue guidance emphasizes properly fitted joints; adhesive is not a substitute for repairing a poorly matched connection.
- A curved outline can cut across grain even when the original board looked straight and sound.
- Concealing a joint with ornament does not change the structural work that connection must perform.
Royal Picks
- Use a full-size story stick to carry repeated reference dimensions without repeatedly measuring from separate rulers.
- Choose marking tools that produce clear reference lines appropriate to the timber and the planned machining method.
- Prepare cauls shaped for curved or carved areas so clamping pressure is applied where the assembly requires it.
- Keep practice offcuts for testing tool setup, joint fit, stain response, and carving depth.
- Select clamps by the actual assembly geometry and access rather than buying only by nominal length.
- Use winding sticks and a straightedge when checking prepared stock and reference surfaces.
- Compare timber grain on both faces before assigning a blank to a curved arm or pierced back element.
- Consult the chosen adhesive's current technical instructions before planning a complicated glue-up.
- Use a dimensioned exploded drawing to communicate hidden connections to a fabricator or structural reviewer.
- Keep a sacrificial assembly fixture when repeated angled parts must meet consistently across more than one throne.
Behind the Throne
- An impressive carved crest can distract from a weak connection where the tall back meets the lower frame.
- Assembly sequence affects design: a joint that fits individually may become impossible to close after neighboring parts are fixed.
- Broad solid panels restrained across their grain can create movement problems that a flexible-looking concept sketch does not reveal.
- Carving after assembly can restrict tool access, while carving before assembly can remove useful clamping surfaces.
- A reversible decorative attachment can make restoration easier without requiring the main chair frame to come apart.
- Mirrored components need explicit identification because a small angle error can accumulate across the assembled frame.
- Glue squeeze-out and surface contamination can affect later finishing, making cleanup planning part of the woodworking sequence.
- A repair should investigate why the joint loosened rather than simply hiding the gap under new ornament.
- Laminated curved components and curves cut from solid stock create different grain and glue-line considerations.
- An oversized back increases the importance of reviewing the entire frame and base, not merely the strength of individual joints.
Throne Wonders
- Design an exposed-joint throne where carefully arranged shoulders and pegs become part of the ceremonial ornament.
- Explore a back panel framed around a naturally striking grain pattern rather than covering it with carving.
- Create a study comparing the same throne silhouette interpreted through joined frames, layered curves, and carved solid forms.
- Develop removable crest panels that let one durable frame support several ceremonial identities.
- Imagine a maker's mark repeated discreetly on repaired components to reveal the throne's workshop history.
- Use contrasting timber in nonstructural details to draw attention to how the main frame is assembled.
- Create a cutaway display model showing the hidden joinery beneath a finished throne's ornate surfaces.
- Explore a restrained frame whose ornament follows the junctions between legs, rails, and arms.
- Build a sample archive documenting how alternate joint layouts change assembly access and visible proportions.
- Design a restoration record that preserves removed decorative fragments alongside drawings of the repairs that replaced them.
Throne FAQs
- Which joint is strongest for a throne? There is no universal answer; connection geometry, timber, fit, loading, and the whole frame determine suitability.
- Can glue fill a loose joint? Do not assume so. Correct the joint or use a specifically designed repair method supported by the adhesive's instructions.
- Why make a full-size joint drawing? It reveals remaining material, intersecting cuts, angles, and assembly conflicts that a small rendering may conceal.
- Should I carve before assembling the frame? Choose the sequence around tool access, clamping surfaces, and joint protection; a practice component can help resolve the tradeoff.
- Can a decorative back panel brace the throne? Only if the design specifically accounts for that role; appearance alone does not establish structural function.
- Why does grain direction matter in curved arms? Cutting a curve can leave short-grain areas where the component's shape no longer follows the timber fibers.
- How long should an adhesive cure? Follow the exact product's instructions for the materials and conditions rather than using a generic timetable.
- Can I copy joinery from a photograph? A photograph rarely reveals hidden dimensions, internal connections, or condition; obtain a proper design before building occupied furniture.
- How should a broad solid back panel be attached? Account for its movement and the surrounding grain directions through an appropriate panel-and-frame design.
- What should I document for a commissioned wooden throne? Record the frame drawings, timber, connections, intended use, finish system, review requirements, and repair access.