
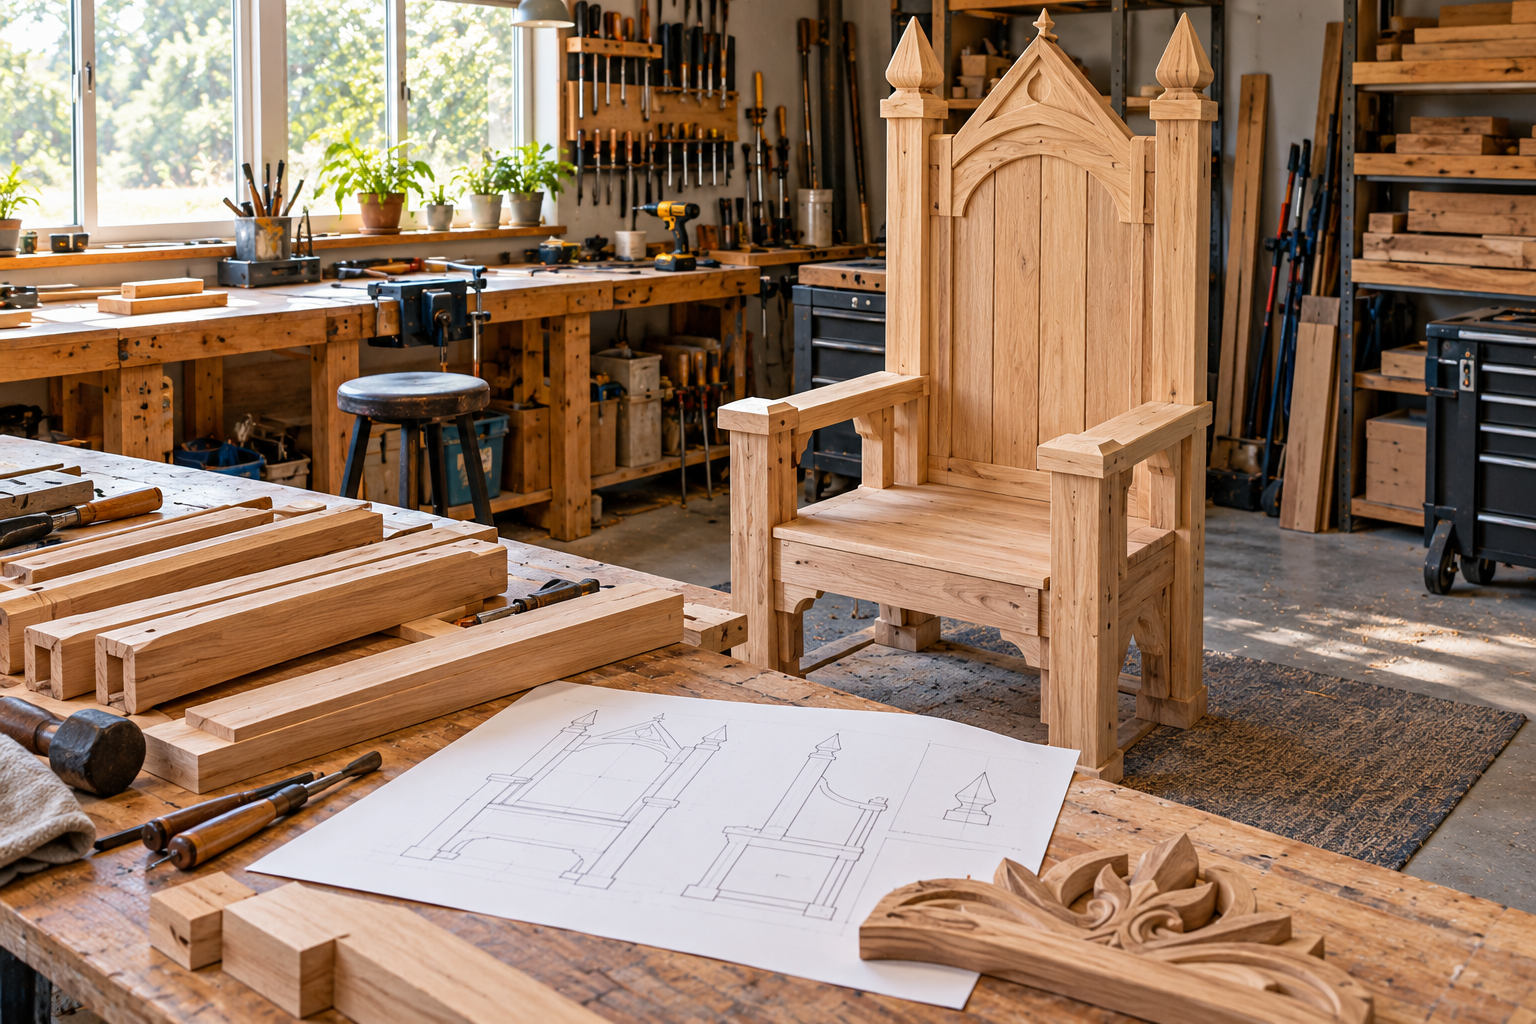
Building a throne yourself can begin with an original frame, an existing chair, or a removable scenic surround. The right starting point depends on your skills, equipment, intended users, and the role the finished object will serve. Project Case Studies & Transformations helps turn that ambition into a defined project. Look for dimensioned drawings, connection details, a materials list, and an assembly sequence rather than relying on a finished photograph. Make room for mockups, practice components, finish samples, and inspections before decoration hides the work beneath it. A display-only build and occupied furniture require different decisions, and enlarging a miniature plan does not automatically solve the full-size design. This section also considers realistic costs, workshop access, transport, storage, and the time needed for curing or corrections. Keep optional embellishments separate from the essential first version so the project remains manageable. A useful build record shows what changed and why, not just the final reveal. With a clear brief and appropriate expertise where needed, effort can become a throne project rather than a collection of details.
Throne Foundations
- Write a project brief covering intended users, setting, budget, appearance, and available workspace.
- Distinguish a display-only build from furniture intended to support people.
- Choose plans with dimensioned views and connection details rather than relying on a finished photograph.
- Check required skills and equipment before ordering the complete materials list.
- Build an inexpensive full-size mockup to assess proportions and room fit.
- Break the project into frame, seating, ornament, finishing, and assembly stages.
- Review structural changes before altering an existing chair's frame or proportions.
- List transport constraints alongside construction dimensions, especially for an oversized back.
- Set inspection checkpoints before upholstery or decorative cladding conceals the frame.
- Keep the approved drawings and actual build changes together in one project record.
Royal Facts
- A cut list describes pieces; it does not replace assembly drawings or connection instructions.
- Nominal material labels may differ from actual purchased dimensions, so verify stock before cutting.
- A decorative extension changes appearance and can also change handling, balance, and access.
- A successful small model proves proportions more readily than full-size structural performance.
- A plan designed for one material cannot automatically be built unchanged in another.
- A parts diagram and an assembly sequence answer different practical questions.
- Removable ornament can simplify repairs without changing the primary seating frame.
- The cost of tools, supplies, mistakes, finishing, and transport belongs in a realistic project estimate.
- A tall back can make a chair harder to move even when its seat footprint stays unchanged.
- Photographs taken before covering the frame can support later maintenance and troubleshooting.
Royal Picks
- Select a plan with clear intended-use information and identifiable authorship.
- Prepare a materials checklist that includes hardware, adhesives, finish, and consumables.
- Use a stage-by-stage budget with contingency rather than spending everything on visible materials.
- Keep a full-size seat template when the design includes irregular curves.
- Create a tool-access checklist for every unusual joint or decorative feature.
- Build one representative ornament before producing an entire matching set.
- Use labeled component bags for hardware needed during final assembly.
- Choose a project journal with photographs, measurements, decisions, and unresolved questions.
- Reserve sample materials for testing the complete finish and upholstery combination.
- Arrange qualified review where the project requires structural knowledge beyond your experience.
Behind the Throne
- A simple frame with removable ornament can offer more achievable DIY scope than a fully carved original chair.
- An attractive online build may omit corrections made between photographs; look for complete instructions.
- A change in back height can affect more than style, including leverage and transport clearance.
- Reclaimed seating deserves a condition assessment before new decoration hides loose joints or damaged material.
- A practice assembly reveals missing clamps, inaccessible fixings, and sequence problems before permanent work begins.
- The cheapest material can become expensive if it requires unfamiliar tools or extensive surface preparation.
- Finishing separate modules may improve access while creating edges that need protection during reassembly.
- A realistic schedule includes curing, supplier delays, corrections, and delivery rather than only active making time.
- A documented stopping point helps prevent an unresolved structural issue from being buried under finished decoration.
- An honest build report explains limitations and revisions, making it more useful than a flawless-looking reveal alone.
Throne Wonders
- Create a modular ceremonial surround for an appropriately selected existing chair.
- Develop a family project where participants design removable heraldic panels.
- Build a miniature prototype showing several possible back silhouettes before selecting one.
- Explore a throne transformation using upholstery and detachable ornament rather than frame alterations.
- Create a photographed build diary that shows decision points as clearly as finished results.
- Design a reusable crest system for birthdays, theater scenes, and seasonal displays.
- Compare two finish schemes on identical sample panels before committing to either.
- Develop a storage plan that nests decorative modules in their assembly order.
- Create an exploded display model explaining the hidden structure beneath an ornate surface.
- Build a repair guide from leftover samples, labeled hardware, and photographs of concealed connections.
Throne FAQs
- Can a beginner build a throne? Choose a clearly documented project within your skills, separating decorative work from any unresolved occupant-supporting structure.
- Can I build from a picture alone? A picture rarely supplies connection details, material specifications, or dimensions; obtain proper plans first.
- Should I modify an old chair? Assess its condition and intended use before decoration, and review changes that affect the frame.
- How do I estimate the full cost? Include materials, tools, consumables, samples, corrections, finishing, transport, and an appropriate contingency.
- Can I scale a small plan up? Uniform enlargement changes materials, joints, forces, and handling; a full-size design needs separate assessment.
- What should a useful plan include? Look for dimensioned views, materials, connection details, assembly order, intended use, and relevant review information.
- When should ornament be added? Resolve the frame and attachment approach first, then fit decoration without obscuring required inspection access.
- How do I keep the project manageable? Set a defined first version and separate optional enhancements from the essential build stages.
- What if purchased stock differs from the plan? Reconcile actual dimensions and connection geometry before cutting; do not silently substitute.
- What should I save after finishing? Keep the final drawings, build changes, material records, photographs, assembly instructions, and touch-up references.