
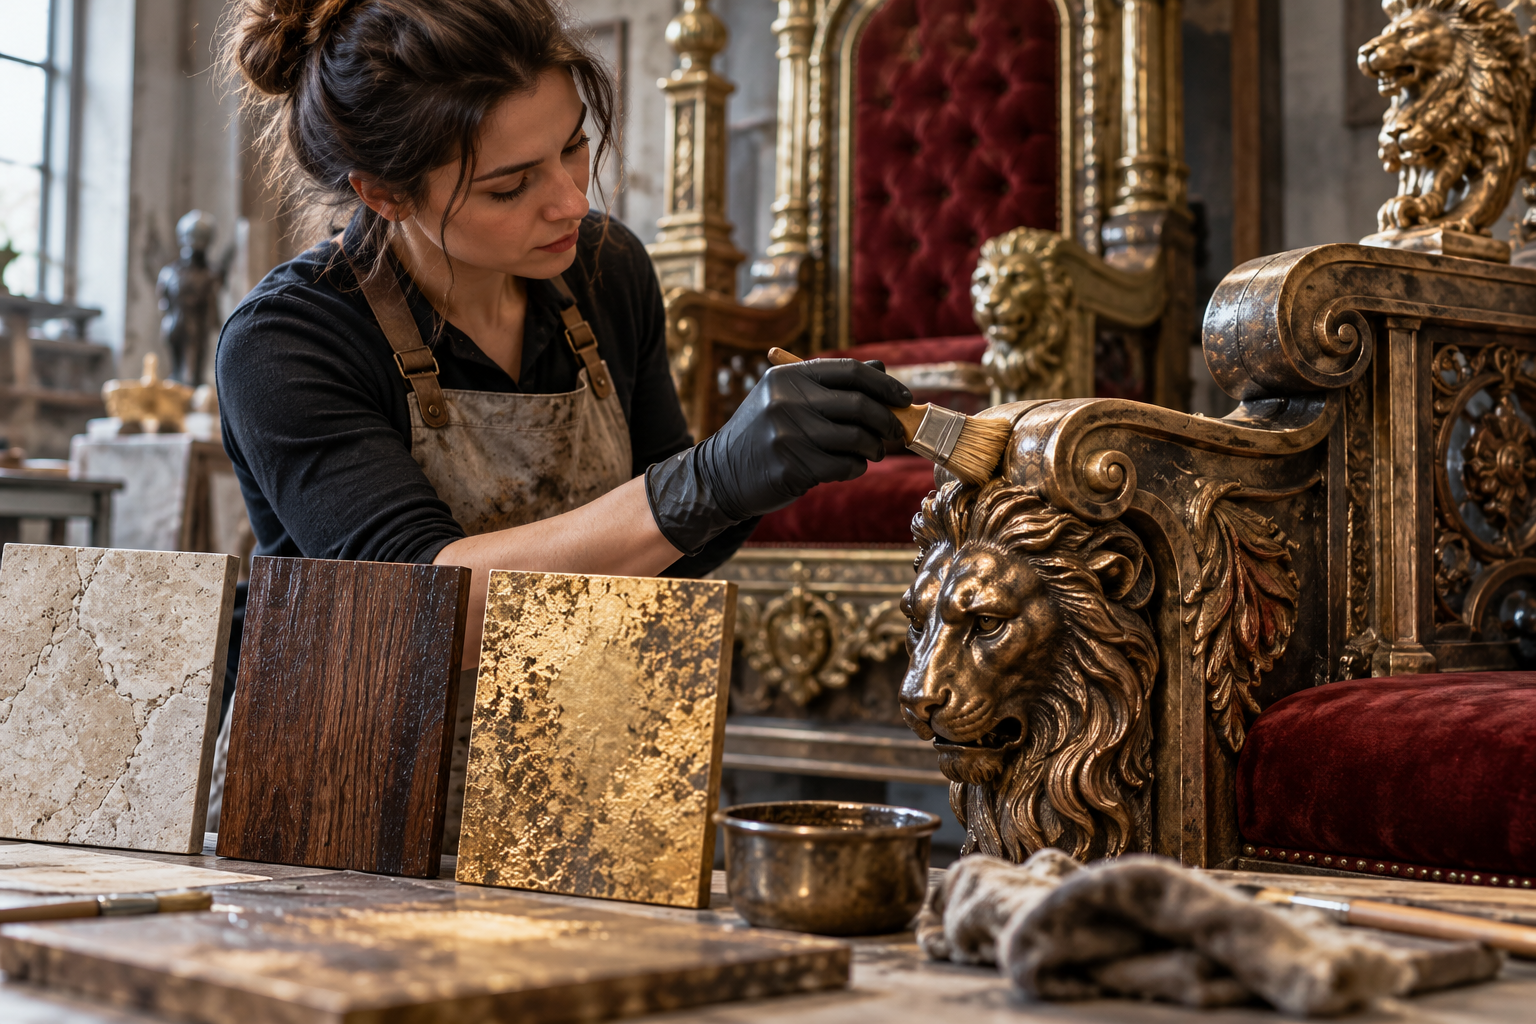
A finish does more than add color. It can suggest aged bronze, pale stone, polished timber, worn lacquer, or a material that belongs entirely to an imagined world. Painting, Texture & Surface Finishes explores how preparation, layered effects, texture, and sheen create that appearance. Identify the substrate first, then develop a sample from bare surface through the final protective layer. Carved recesses and broad panels can behave differently, so a smooth square alone may not reveal what happens across an ornate throne. Consider how light changes metallic effects, how wear follows use, and why a touch-up can remain visible even when the color matches. This section distinguishes scenic imitation from actual material identity and keeps product-specific application guidance attached to the chosen system. Compare finishes alongside upholstery and the intended backdrop rather than judging them in isolation. A written record of materials, mixtures, sequence, and appearance makes later care manageable. The result should support the throne's form and story, allowing individual details to read clearly instead of disappearing beneath an equally busy treatment on every surface.
Throne Foundations
- Identify every substrate before choosing the preparation, primer, color coat, and protective finish system.
- Decide whether the finish represents a real material, an aged surface, or a deliberately stylized fantasy effect.
- Develop a full layered sample rather than approving color from paint still wet in its container.
- Clean and prepare surfaces according to the selected product's instructions before evaluating adhesion.
- Mask upholstery, connection surfaces, labels, and moving interfaces that should remain free of coating.
- Choose sheen alongside color because gloss, satin, and matte treatments change how carved forms read.
- Plan the painting sequence around access to recesses and the assembly of removable ornament.
- Establish where wear would actually occur before adding scratches, rubbed edges, or accumulated-looking grime.
- Test the finish under the lighting expected for photography, performance, or everyday display.
- Record product names, color mixtures, application sequence, and cure requirements for later repairs.
Royal Facts
- A color coat and a protective topcoat perform different jobs even when they are part of one coordinated system.
- Rosco's scenic paint guidance calls for surfaces to be clean, dry, and free of dirt and grease.
- A metallic-looking paint effect does not make its underlying material metal.
- Dry-to-touch and ready-for-service are different milestones in many finishing systems; consult the exact product instructions.
- Glossy surfaces produce stronger reflections that can emphasize uneven preparation and lighting hotspots.
- Dry brushing highlights raised texture, while a controlled dark glaze can emphasize recesses.
- A protective clear coat can change the apparent depth, sheen, or color of the layer beneath it.
- A scenic patina imitates age visually and should not be presented as proof of genuine historical condition.
- Different substrates may require different preparation even when they will share one final color.
- A finish approved for indoor scenery is not automatically suitable for outdoor exposure or repeated skin contact.
Royal Picks
- Keep a substrate-specific sample panel showing each layer from bare material to final topcoat.
- Use a neutral reference card when photographing samples so changing camera exposure is easier to recognize.
- Choose brushes or application tools appropriate to the intended texture and the product's instructions.
- Prepare a sample with both carved recesses and broad flat areas instead of evaluating only a smooth square.
- Use labeled mixing containers and written proportions when a custom color must be reproduced later.
- Compare the actual proposed topcoat on the finished color rather than assuming it will remain visually invisible.
- Reserve a concealed test area when investigating a compatible touch-up on an existing throne.
- Select current technical information for every layer of a mixed-substrate finishing system.
- Keep reference photographs showing the intended direction and concentration of decorative wear.
- Prepare a small owner touch-up kit only with identified materials and clear application guidance.
Behind the Throne
- A convincing stone effect relies on color variation at several scales rather than identical dark cracks repeated everywhere.
- Gold-colored highlights can lose their definition when every nearby surface receives the same brightness and sheen.
- A recessed area painted as deeply worn can contradict the physical pattern of use unless the story explains it.
- A sprayed finish may reach exposed surfaces evenly while leaving sheltered recesses thin or visually inconsistent.
- An early adhesion problem should be investigated before more decorative layers make the underlying issue harder to correct.
- A repair can match color yet remain visible because its texture or sheen differs from the surrounding finish.
- Scenic aging should reinforce the throne's material illusion; timber, stone, and metal suggest different kinds of change.
- An isolated finish sample may look balanced until upholstery and surrounding decor introduce stronger competing colors.
- Reassembly can damage paint where hardware bears against coated interfaces unless those areas are deliberately detailed.
- A finish schedule that allows inspection between stages can catch surface problems before the final protective layer.
Throne Wonders
- Create three interpretations of one crest using aged bronze, pale carved stone, and lacquer-like color.
- Explore a restrained throne with ornament revealed through sheen changes rather than contrasting colors.
- Build a sample series showing the same metallic finish under daylight, warm portrait lighting, and cool stage light.
- Design a fictional restoration where old colors remain visible beneath carefully placed new ceremonial panels.
- Develop a wood-look finish study that distinguishes large grain direction from smaller texture.
- Imagine a royal seat whose repaired areas remain visibly contrasting as an intentional record of its history.
- Create an atmospheric fantasy finish using subtle cool shadows and warm raised surfaces instead of an all-purple palette.
- Compare minimal edge wear with heavy scenic aging to decide which version supports the intended story.
- Design a coordinated finish library linking the throne, dais, backdrop, and detachable accessories.
- Present a layered sample as a small exhibition, revealing the separate stages behind a convincing material illusion.
Throne FAQs
- Do I need primer on every throne surface? Follow the chosen coating system and substrate requirements; one preparation method does not suit every material.
- Why did the final clear coat change the color? Topcoats can alter sheen and visual depth; approve a fully finished sample before coating the throne.
- How can painted gold look less flat? Develop controlled variation in highlights, recesses, and surrounding contrast while testing the effect under intended lighting.
- Can one paint imitate stone and metal? Color may contribute to both, but texture, sheen, marks, and the underlying form need different treatment.
- How long should I wait before using the throne? Follow the exact product system's service and cure instructions, including conditions stated by its manufacturer.
- Why is a touch-up visible when its color matches? Texture, application thickness, sheen, aging, and light direction can all reveal a patch.
- Should I distress all edges equally? No. Place wear according to use, handling, and the fictional history rather than applying a uniform decorative pattern.
- Can I finish mixed materials with one system? Only after confirming compatible preparation and coatings for each substrate through documentation and testing.
- Will an indoor scenic finish survive outdoors? Do not assume so; specify the actual exposure and a complete finish system supported for that application.
- What makes future refinishing easier? Retain the substrate record, preparation steps, product details, custom mixtures, samples, and photographs of the intended finished effect.