
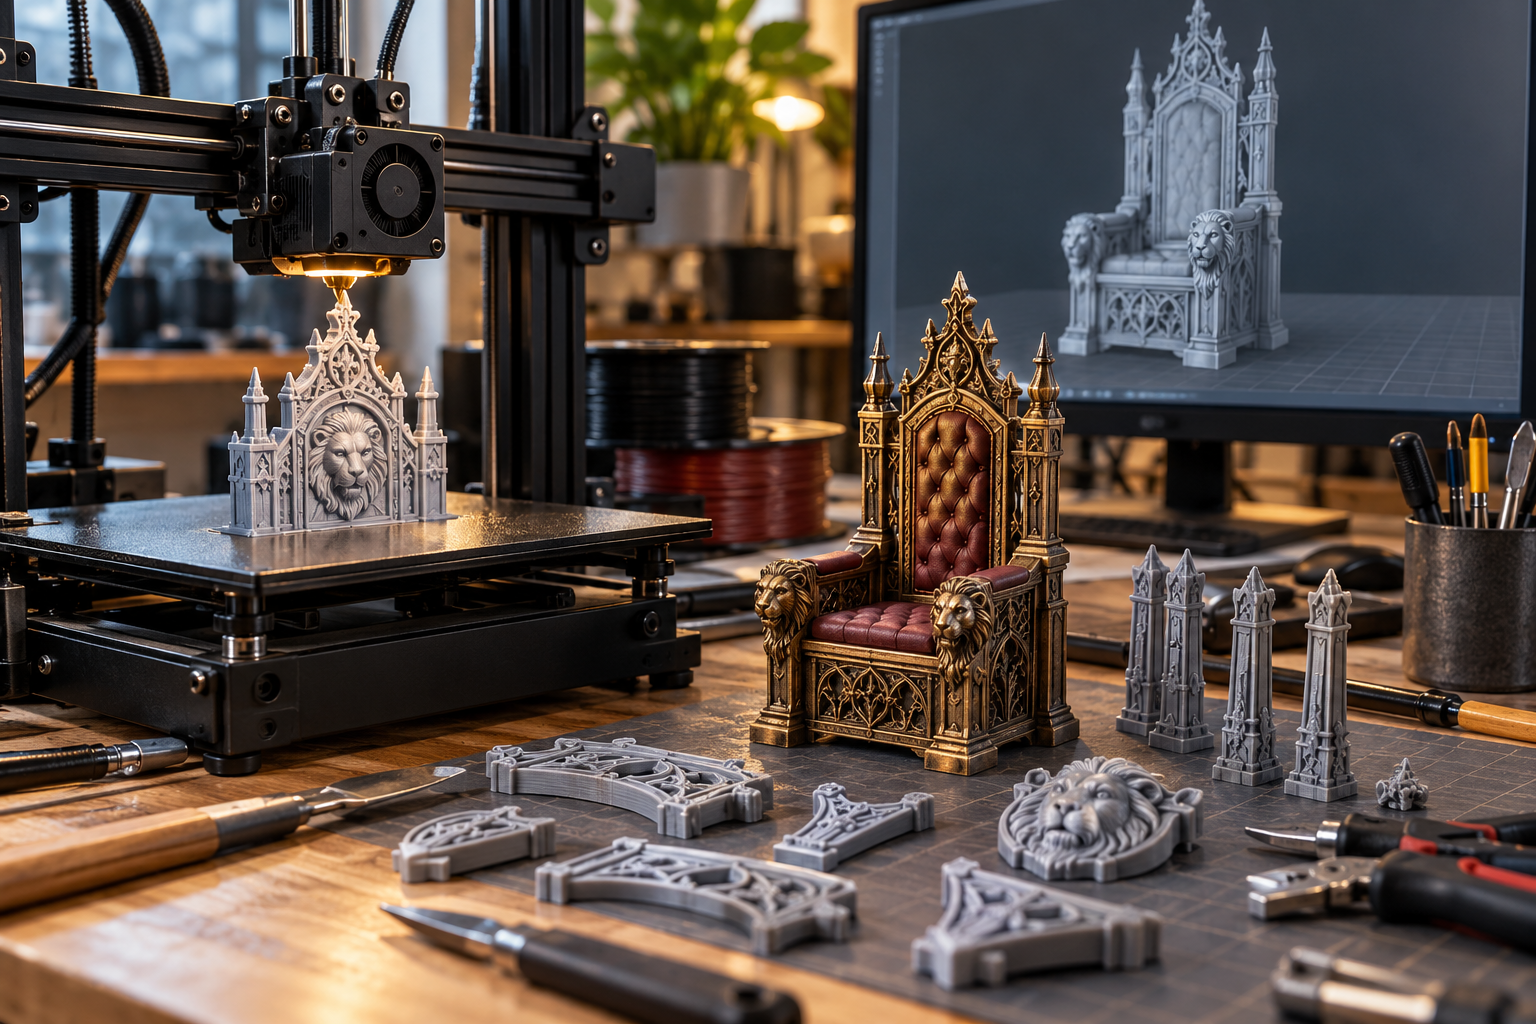
A digital throne can look complete long before it is ready to print. Thin ornament, hidden intersections, unsupported features, and perfectly fitting virtual connections can all become practical problems in the physical result. 3D Modeling & Digital Fabrication explores the route from visual concept to fabricated detail. Begin with the model's purpose: a miniature, decorative component, casting master, or visualization needs different decisions. Check units, scale, wall geometry, orientation, supports, and assembly interfaces before committing to a build. Splitting a crest may reduce support needs while introducing seams that require placement and finishing. This section encourages tests, especially for clearances and fragile details, rather than assuming a successful render predicts production quality. Keep editable models, exported meshes, slicer projects, licenses, and revision notes connected so replacement parts remain traceable. Printed ornament can extend what a maker can create, but it does not automatically establish suitability for occupied furniture. The most useful workflow treats the digital image as one stage in a broader process, linking modeling choices to the actual material, machine, finish, and intended use.
Throne Foundations
- Define the model's purpose first: concept visualization, miniature, decorative print, mold master, or functional component.
- Set working units and confirm imported references before modeling details at the wrong scale.
- Block out the throne with simple volumes and an occupant reference before sculpting ornament.
- Separate decorative surfaces from attachment geometry so revisions do not accidentally change critical interfaces.
- Consider the intended printing process while choosing wall thickness, feature size, and part orientation.
- Split oversized designs into parts that fit the printer and have practical alignment and assembly features.
- Place seams where they can be finished without destroying important texture or emblem detail.
- Inspect the sliced preview rather than assuming a smooth digital model will produce an equally clean print.
- Print a small representative detail or connection test before committing to a long multi-part build.
- Keep editable source files, exported meshes, slicer projects, and revision notes organized as separate records.
Royal Facts
- A rendered image can hide unprintable geometry, intersecting surfaces, and features too small for the chosen process.
- Prusa's modeling guidance discusses orientation and splitting as ways to manage overhangs and support needs.
- Support contact can affect a printed surface, making orientation a finishing decision as well as a printing decision.
- Changing a miniature's scale also changes the thickness of its ornament unless the model is revised.
- A digital assembly that fits perfectly may need tested clearances when produced by a real printer.
- A model's outside dimensions do not reveal its internal walls, infill, or intended connection method.
- A high polygon count can preserve fine shapes but does not automatically make a model accurate or printable.
- Slicer settings, material, printer condition, and orientation all contribute to the final result.
- Printed layer structure can influence behavior, so a decorative success does not establish suitability for supporting a person.
- A purchased model's permitted uses depend on its actual license, including whether physical prints may be sold.
Royal Picks
- Use a unit-check object of known dimensions when moving a throne design between modeling and slicing software.
- Create a low-detail whole-throne print to judge proportions before producing individual high-detail ornaments.
- Prepare a clearance test containing the same pegs, sockets, or sliding interfaces planned for the finished assembly.
- Keep a surface sample showing curved faces, fine lettering-free ornament, and planned support contact.
- Choose a file naming scheme that connects every printed part to its design revision and assembly position.
- Request process information and unrendered views when evaluating a downloadable throne model.
- Use an exploded assembly drawing to show how separate printed decorations meet their supporting frame.
- Preserve the original model license and creator attribution alongside purchased or downloaded files.
- Select finishing materials using the actual print material's compatibility guidance and a test piece.
- Record failed prints with their slicer project so troubleshooting addresses the specific geometry and settings.
Behind the Throne
- A dramatic thin finial may need redesign for printing and handling even when it renders convincingly.
- Breaking a crest into parts can reduce supports while creating additional seams and alignment work.
- Scaling an entire throne uniformly may make a usable chair into an awkward miniature with nearly invisible details.
- A repeated ornament is easier to revise when modeled as a controlled component rather than many unrelated copies.
- A curved surface facing away from the build plate can have a different finish from its support-facing counterpart.
- Attachment features deserve early testing because decorative refinements cannot compensate for a poor assembly fit.
- A printed master may retain layer texture in every subsequent mold casting unless its surface is prepared first.
- A model organized for rendering may require substantial rebuilding before it becomes a practical fabrication model.
- A replacement print should match the original revision, material, and finish system rather than merely sharing a filename.
- Digital symmetry is easy to create, but intentional asymmetry may better support a grown, repaired, or creature-based throne concept.
Throne Wonders
- Develop a modular crest library whose ornaments share one tested attachment system but retain distinct royal identities.
- Create a miniature throne room to compare several silhouette options under one consistent camera view.
- Explore a parametric back design where changing one curve reshapes a coordinated family of decorative panels.
- Design a printed mold master for a repeating border that would be laborious to carve identically by hand.
- Build a side-by-side display of digital model, raw print, prepared master, and finished cast detail.
- Imagine a throne that preserves visible print layers as an intentional futuristic surface pattern.
- Create replaceable creature heads that let a base throne represent different invented dynasties.
- Develop a labeled exploded miniature that demonstrates the assembly sequence of a much larger scenic throne.
- Compare a realistic scan-inspired surface with a deliberately simplified version to discover which reads better at miniature scale.
- Design a digital archive that connects each physical ornament to its source model, print history, and repair notes.
Throne FAQs
- Can I print a full-size throne? Printer capacity alone is not the deciding factor; occupied furniture requires an appropriately designed and reviewed complete structure.
- Why did details disappear when I reduced the model? Uniform scaling also reduces feature thickness; revise critical ornament for the chosen print process and final size.
- Should I split a large crest? Compare printer limits, support needs, surface quality, assembly access, and seam finishing before choosing a split.
- Why do digital pegs fit but printed ones do not? Real processes introduce variation; test clearances with the actual printer, material, orientation, and settings.
- Does higher infill guarantee a strong part? No. Geometry, walls, material, orientation, process quality, and connections also matter.
- Can a render prove a model is printable? No. Inspect geometry, dimensions, process requirements, and the sliced result, then test representative features.
- What should I save after a successful print? Keep the model revision, exported file, slicer project, material information, orientation, and relevant finishing notes.
- Can printed parts become casting masters? Yes, when their geometry and prepared surfaces suit the planned mold and casting process.
- May I sell prints from a downloaded throne file? Check the exact license; personal-use access does not automatically include commercial permission.
- How do I avoid wasting a long print? Test the difficult detail or connection first, inspect the slice, and resolve orientation and assembly before full production.